Construction instructions for frame screen
A frame screen is probably the best and most optimal way to create a projector image. Building a screen yourself is the cheapest and best solution, as it makes optimal use of the wall space. It has a flat, straight, wave-free surface and is always in the best position for the projector, as it is firmly attached to the wall.
To build a frame screen, the following “ingredients” are needed:
- 1 x frame made of glued wood panels. Length and width should be based on the size of the canvas including the frame. 2 glued wood panels measuring 2.05m x 0.20m and 2 panels measuring 3.14m x 0.20m.
- 8 pieces of 24 cm screws (not yet available in our shop, but in the hardware store)
- 4 Lamellos (hardware store)
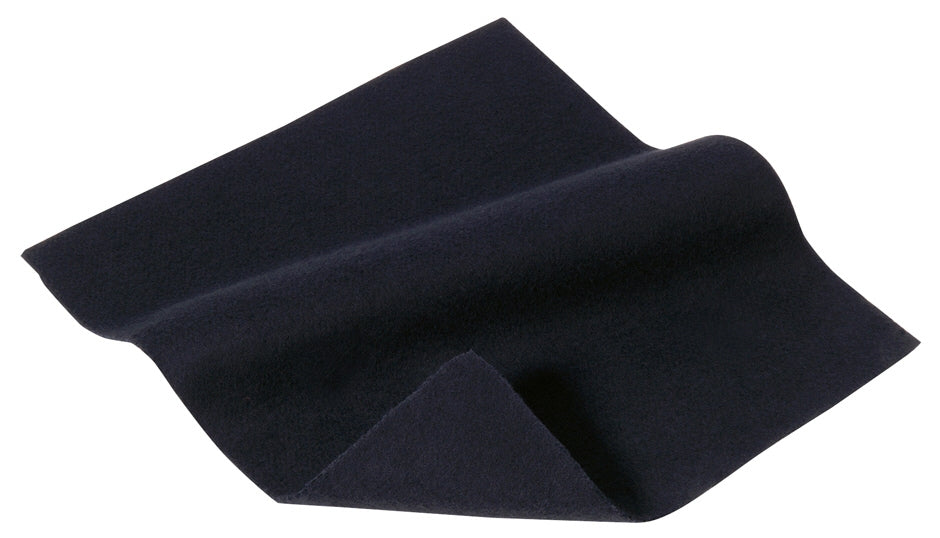
- 1 x canvas cloth, available here in the shop (here 2.25 mx 3.74 m).
The canvas size is as follows: 1.91m (image) + 0.14m (2x7cm frame) + 0.06m (2x3cm frame thickness) + 0.14m (2x7cm fold of the canvas on the back) = 2.25m. Calculate the width in the same way
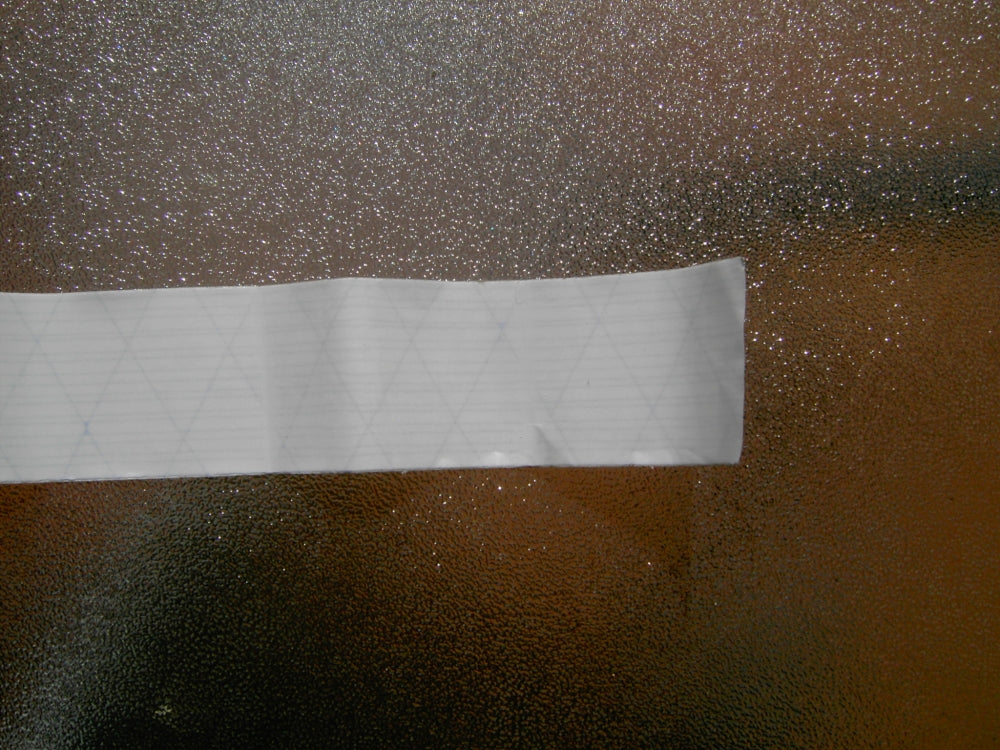
- 1 x frame made of black velvet-coated adhesive film, available here in the shop. Here 11.82m (2x2.21m + 2x3.7m). Brown and green can also be used as frames for those who don't like black.
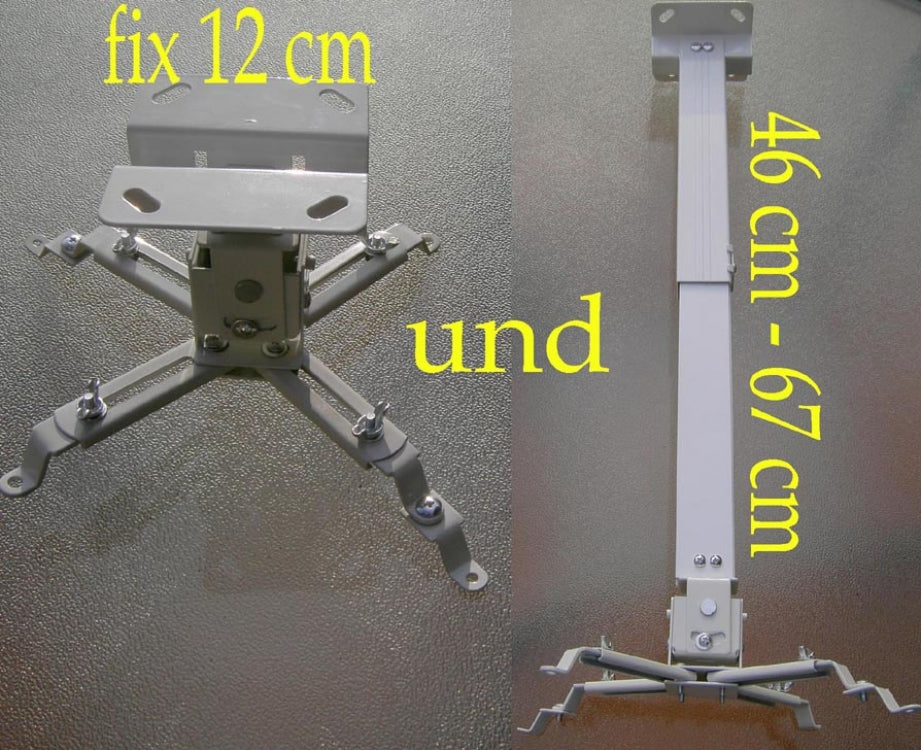
- 2 x wall brackets (described below), available here in the shop.
- Dowels with fastening screws for the wall bracket, included here in the shop with the wall bracket as an accessory.
- Fastening screws for the rubbers (hardware store)
Household rubber bands for attaching the screen to the screen plate, available in household stores. Alternative expander rope available here in the shop.
- String with 2 drawing pins to align the frames ( velour adhesive film ) well.
- 4 thumbtacks to secure the 4 corners of the canvas and frame to the back.
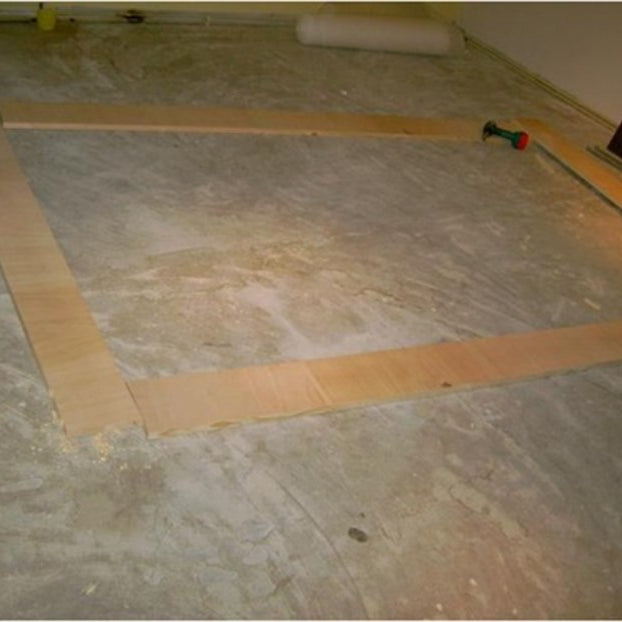
I had a local carpenter build me a frame out of glued wood panels. The width of the frame panels is 20 cm and the thickness is 3.0 cm. This ensures good stability.
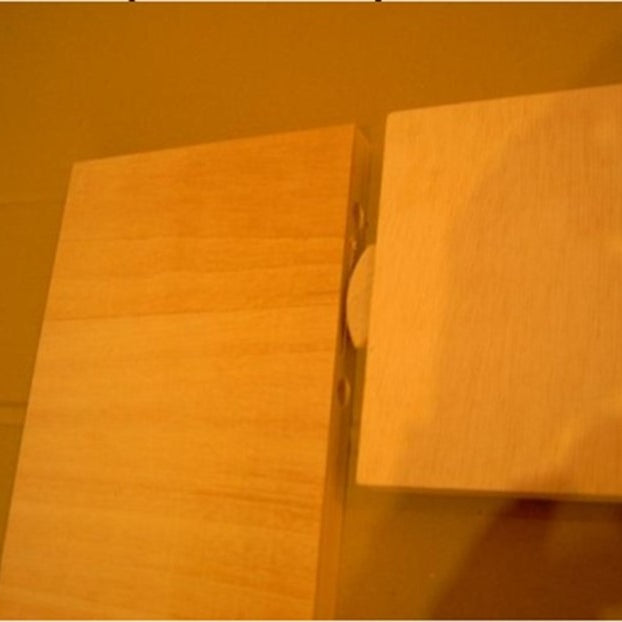
I had longitudinal holes drilled into the frame glued wood panels and grooves milled for the lamellos. These are used to attach the two glued wood panels flush to each other.
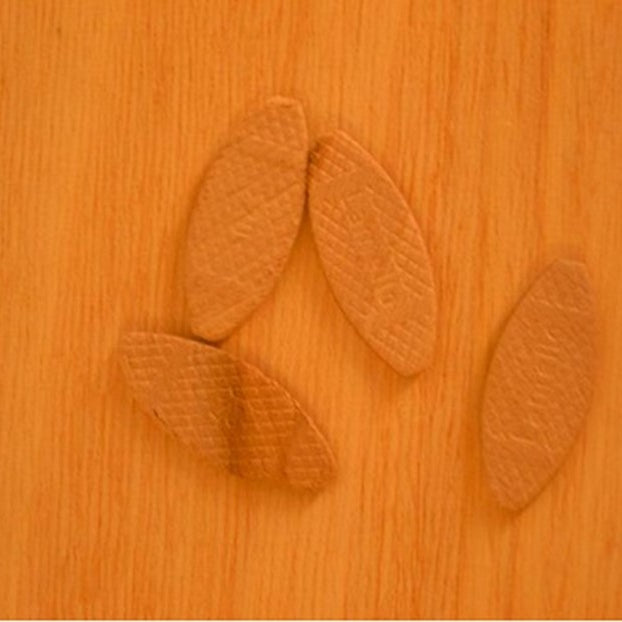
Lamellos
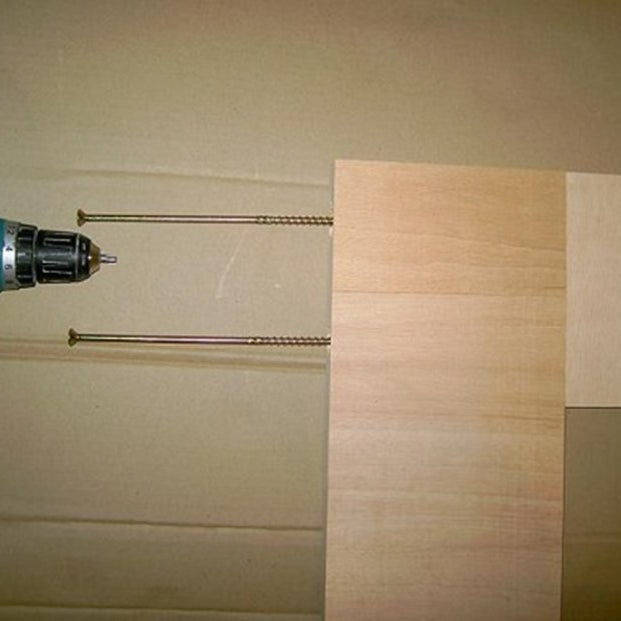
Screw the 24 cm screws into the longitudinal holes
Now put the frame components together.
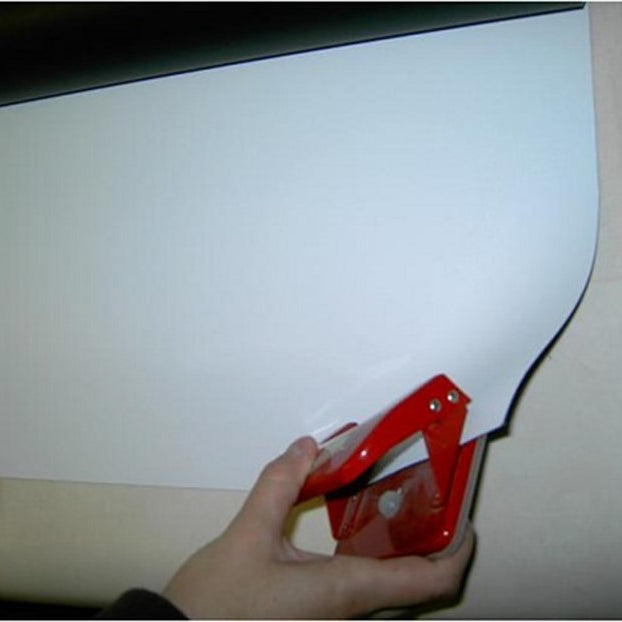
Next, punch holes into the canvas using a regular hole punch.
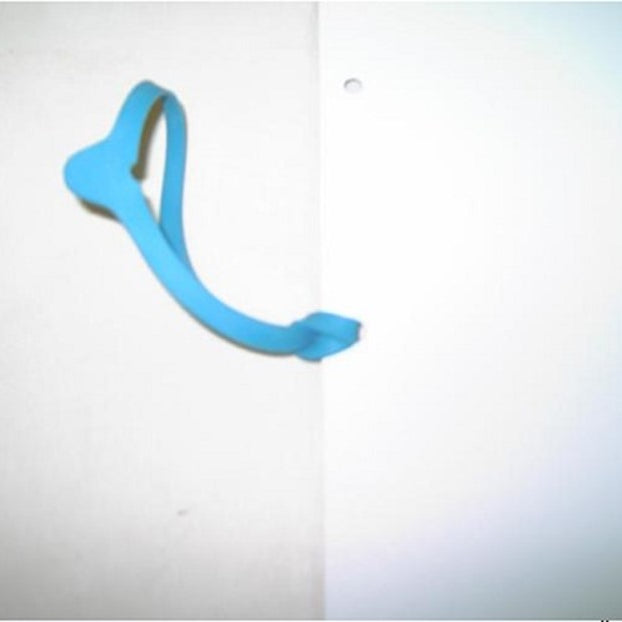
Now pull the rubber bands into the holes you just punched (this time without eyelets )
If there are enough holes and rubber bands, you can easily leave out the eyelets. The cloth won't tear!
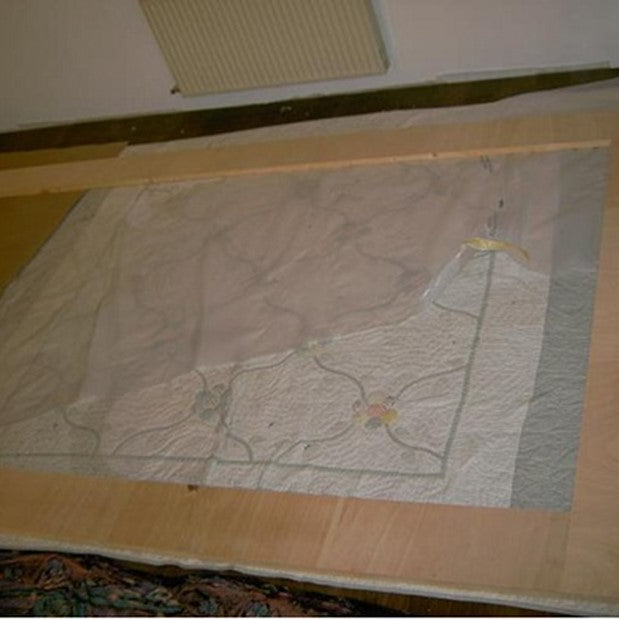
Now place the canvas with the light side facing down under the frame you just assembled.
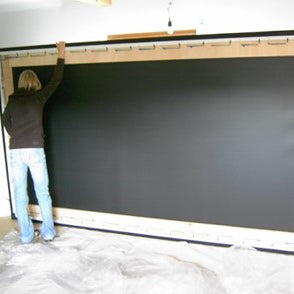
Regarding the 2nd, 3rd and 10th points - my tip for the canvas is to hang it upright on a straight wall with thumbtacks for 2 to 3 days to get a smooth, even surface, as there will certainly be slight warping after shipping. The same applies to the frame and the masking.
I had a local carpenter build me a frame out of glued wood panels. The width of the frame panels is 20 cm and the thickness is 3.0 cm. This ensures good stability.
I had longitudinal holes drilled into the frame glued wood panels and grooves milled for the lamellos. These are used to attach the two glued wood panels flush to each other.
Lamellos
Screw the 24 cm screws into the longitudinal holes
Now put the frame components together.
Next, punch holes into the canvas using a regular hole punch.
Now pull the rubber bands into the holes you just punched (this time without eyelets )
If there are enough holes and rubber bands, you can easily leave out the eyelets. The cloth won't tear!
Now place the canvas with the light side facing down under the frame you just assembled.
Regarding the 2nd, 3rd and 10th points - my tip for the canvas is to hang it upright on a straight wall with thumbtacks for 2 to 3 days to get a smooth, even surface, as there will certainly be slight warping after shipping. The same applies to the frame and the masking.
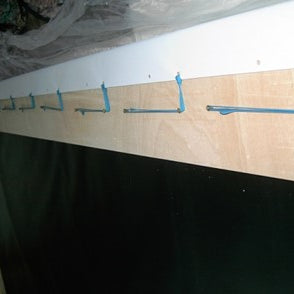
Now screw the screws into the frame at the same distance as the holes punched in the screen. Do not screw the screws in completely so that the household rubber bands can be stretched onto them.
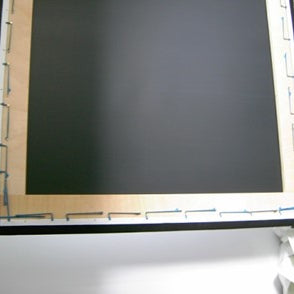
Stretch the rubber bands over the screws (also at a 90 degree angle to the edge of the canvas as in the photo). It is important to stretch the rubber bands at a right angle, otherwise waves can form on the front of the canvas. By stretching the rubber bands at a 90 degree angle, a frame width of 15 cm to 20 cm is sufficient. Cut the canvas at the corners.
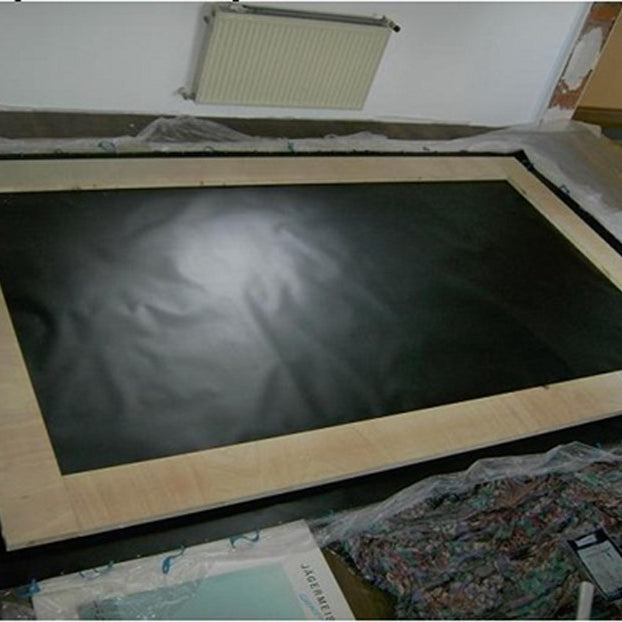
Then turn the frame canvas with the canvas cloth stretched on it over.
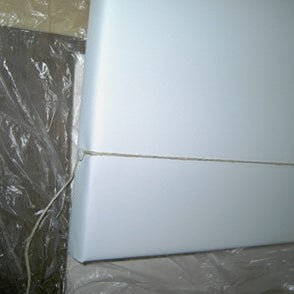
Next, tie the string to the rice nails and press it in at a distance of 7 cm from the edge of the frame. Do this on all four sides (left and right, top and bottom).

Now carefully peel off the velour adhesive film and stick it along the canvas. Repeat this on all 4 sides of the canvas. Make sure to do this with the canvas lying on the floor. If the canvas is standing here, the frame will always be stuck on crookedly!
Now cut the corners of the velour adhesive film and glue it to the back.
Additionally, press the thumbtacks mentioned under point 11 into the 4 corners of the back of the frame to secure it.
Now attach the wall bracket to the wall using the screws and dowels provided. Attach the second board of the wall bracket to the back of the screen frame using the screws provided.
Now screw the screws into the frame at the same distance as the holes punched in the screen. Do not screw the screws in completely so that the household rubber bands can be stretched onto them.
Stretch the rubber bands over the screws (also at a 90 degree angle to the edge of the canvas as in the photo). It is important to stretch the rubber bands at a right angle, otherwise waves can form on the front of the canvas. By stretching the rubber bands at a 90 degree angle, a frame width of 15 cm to 20 cm is sufficient. Cut the canvas at the corners.
Then turn the frame canvas with the canvas cloth stretched on it over.
Next, tie the string to the rice nails and press it in at a distance of 7 cm from the edge of the frame. Do this on all four sides (left and right, top and bottom).
Now carefully peel off the velour adhesive film and stick it along the canvas. Repeat this on all 4 sides of the canvas. Make sure to do this with the canvas lying on the floor. If the canvas is standing here, the frame will always be stuck on crookedly!
Now cut the corners of the velour adhesive film and glue it to the back.
Additionally, press the thumbtacks mentioned under point 11 into the 4 corners of the back of the frame to secure it.
Now attach the wall bracket to the wall using the screws and dowels provided. Attach the second board of the wall bracket to the back of the screen frame using the screws provided.