Assembly instructions for frame screen with back plate
A frame screen is probably the best and most optimal way to create a projector image. Building a screen yourself is the cheapest and best solution, as it makes optimal use of the wall space. It has a flat, straight surface and is always in the best position for the projector, as it is firmly attached to the wall.
To build a frame screen, the following “ingredients” are needed:
- 1 x board made of chipboard, wood or another material. A flat surface is crucial. The length and width should be based on the size of the canvas including the frame. Possibly available as a faulty or waste piece from the carpenter.
- 1 x canvas, available here in the shop.
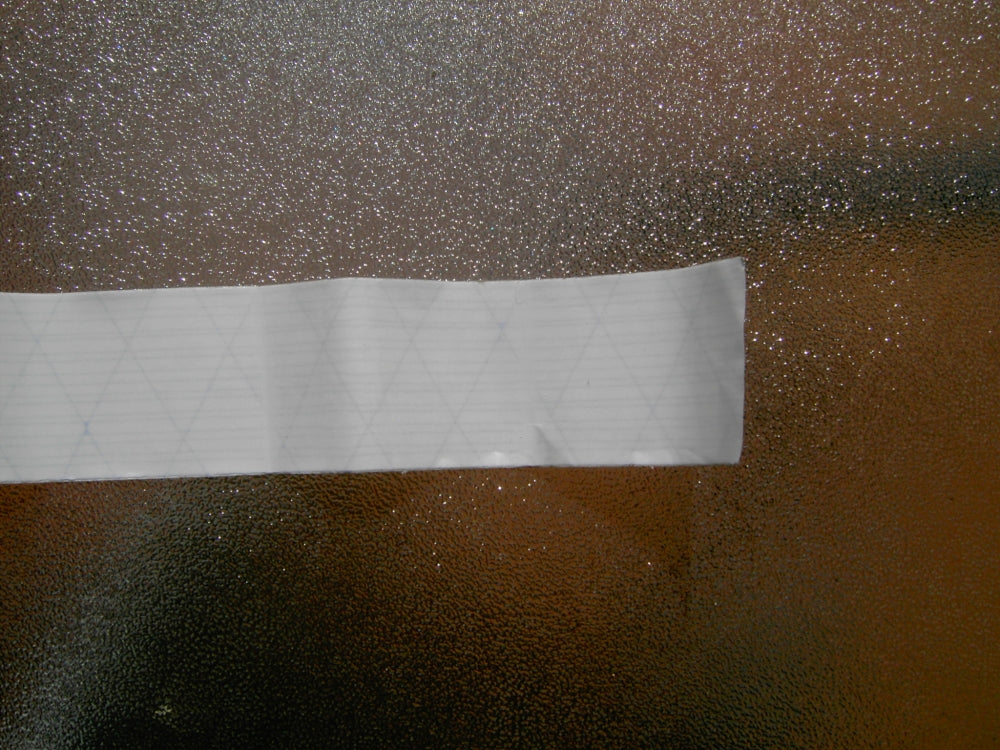
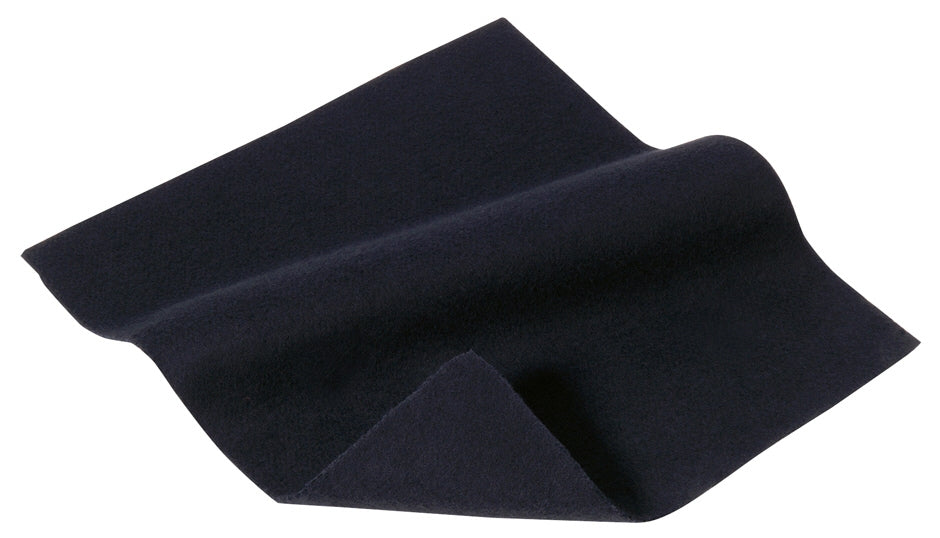
- 1 x frame made of black velvet coated adhesive film, available here in the shop.
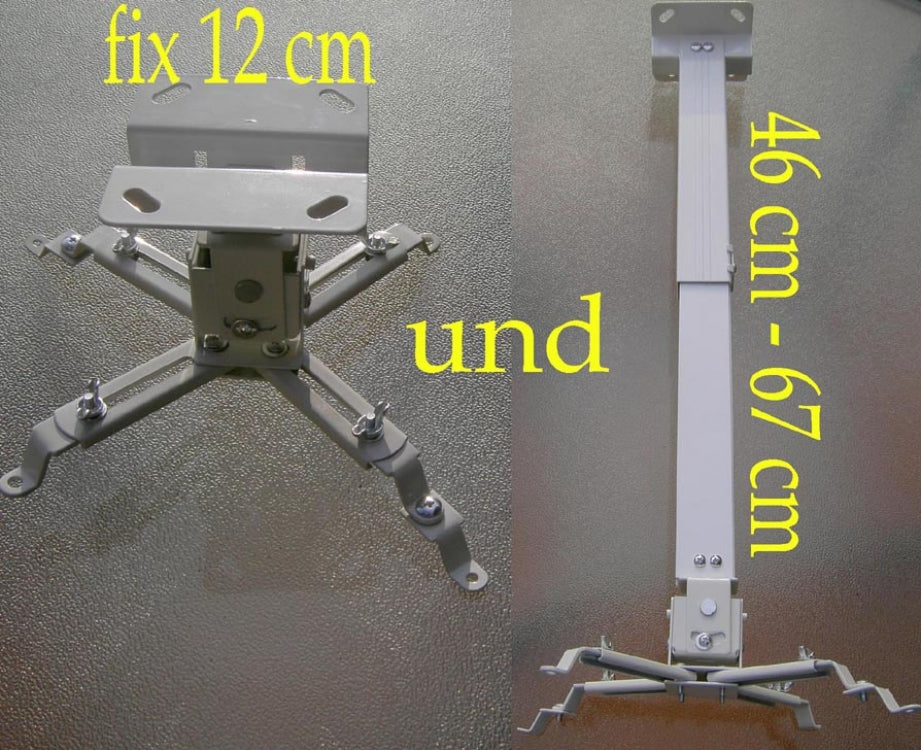
- 2 x wall brackets (described below), available here in the shop.
- Dowels with fixing screws for the wall bracket (supplied with the wall bracket)
- Eyelets with eyelet tool, available at hardware stores. Holdon clamp eyelets are also suitable. Available here in the shop.
- Fixing screws or nails for the rubbers are available at hardware stores.
- Rubber bands for attaching the screen to the screen plate are available in household stores. I used household rubber bands. Alternatively, expander rope (available here in the shop) also works.
- 2 x thin (not thicker than approx. 3mm) light wood panels in the size of the masking, available from your carpenter or hardware store.
- 2 x masks made of black adhesive film coated with velvet, available here in the shop .
- 2 x metal hooks (see below) to hang the masking in a movable manner, available at hardware stores.
To 1.
I got the chipboard as a scrap piece from a local carpenter. In this case, it was wall paneling that had defects in the coating, which didn't affect my purposes. The size is 2.49 mx 1.46 m.
I planned a frame width of 7 cm (front 7 cm + panel width 1.5 cm + back 2.5 cm = 11 cm). This, together with the wall cladding panel I used, creates a screen diagonal of 2.70 m in a 16:9 ratio.
2., 3. and 10.
My tip for the canvas is to hang it upright on a flat wall with thumbtacks for 2 to 3 days to get a smooth, flat surface, as there will certainly be some warping after shipping. The same goes for the frame and the masking.
4.
There is also a wall mount available in the shop
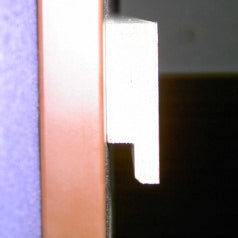
Photo wall mount canvas panel
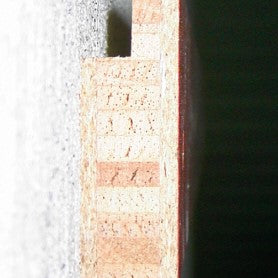
Photo wall mount wall side
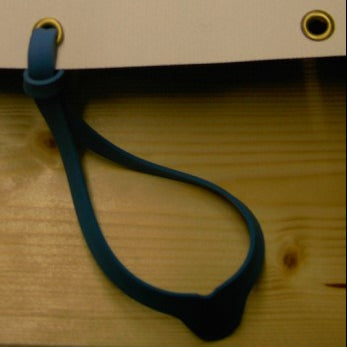
8.: I used household rubber bands (flattened slightly in one place with scissors) so that you can put them through the eyelets or holes in the canvas.

First, the holes for the eyelets should be punched into the edges of the cut canvas using a regular A4 hole punch. Punch the holes at a distance of about 15 cm.
Now optionally punch the eyelets into the holes in the canvas using the eyelet tool. Clamp eyelets also work.
Photo wall mount canvas panel
Photo wall mount wall side
8.: I used household rubber bands (flattened slightly in one place with scissors) so that you can put them through the eyelets or holes in the canvas.
First, the holes for the eyelets should be punched into the edges of the cut canvas using a regular A4 hole punch. Punch the holes at a distance of about 15 cm.
Now optionally punch the eyelets into the holes in the canvas using the eyelet tool. Clamp eyelets also work.
Now pull the rubber bands into all the holes (eyelets). The canvas is strong enough to hold the rubber bands even without eyelets. So you could do without the eyelets if you wanted.
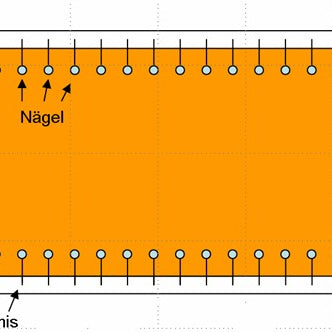
As described in the following pictures, insert the fastening nails or screws for the rubber bands into the screen plate. The distance to the edges should be approx. 10 cm or more. The area to be folded over and the width of the frame must be added to the dimensions of the visible area. If you require other values than those available in the shop, please simply send an email to info@leinwandbau.info .
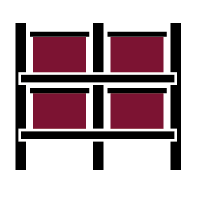
Back of frame screen
Cut the corners of the canvas, wrap one side of the canvas around the panel and hang the rubber bands into the fastening nails (screws).
Now turn the panel 180° to attach the other side of the canvas to the back. Continue in the same way with the sides.
The frame can now be glued to the front of the canvas . In order to align the edge of the frame (velvet film with adhesive on one side) as parallel as possible with the edge of the panel, it is advisable to stretch a string with thumbtacks (into the front of the panel). Measure the distances between the thumbtacks and the edge of the panel beforehand.
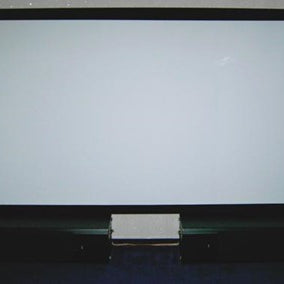
The self-made frame screen is ready
Now remove the protective film from the velvet adhesive film and stick the film onto the canvas starting from one side. It is best to do this with two people to get a perfect straight line parallel to the edge of the panel. This should all be done with the canvas lying flat, otherwise the frame will sag slightly and will not be 100% parallel to the panel. Fold the frame over onto the back of the canvas panel.
Back of frame screen
Cut the corners of the canvas, wrap one side of the canvas around the panel and hang the rubber bands into the fastening nails (screws).
Now turn the panel 180° to attach the other side of the canvas to the back. Continue in the same way with the sides.
The frame can now be glued to the front of the canvas . In order to align the edge of the frame (velvet film with adhesive on one side) as parallel as possible with the edge of the panel, it is advisable to stretch a string with thumbtacks (into the front of the panel). Measure the distances between the thumbtacks and the edge of the panel beforehand.
The self-made frame screen is ready
Now remove the protective film from the velvet adhesive film and stick the film onto the canvas starting from one side. It is best to do this with two people to get a perfect straight line parallel to the edge of the panel. This should all be done with the canvas lying flat, otherwise the frame will sag slightly and will not be 100% parallel to the panel. Fold the frame over onto the back of the canvas panel.